- January 5, 2026
- Yolanda Brooks
A step-by-step look at how bold design, artful patterns, and peel-and-stick magic transformed this home.
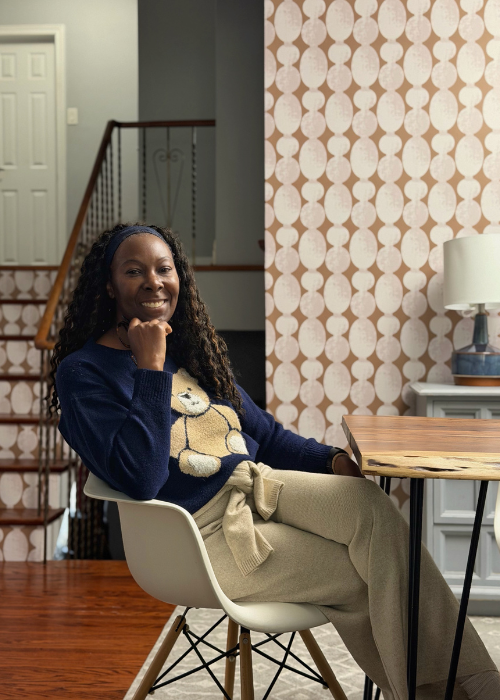
Some client projects feel like a perfect match from the very beginning — and this one was exactly that.
My client loves colour. Bold, joyful, energetic colour. She wanted a space that didn’t just match her personality but celebrated it. So I turned to Otto Studio, a design-forward wallpaper brand known for its artist-driven patterns and renter-friendly peel-and-stick materials.
Together, we documented the entire transformation. From unboxing samples to styling the final shelf. And what unfolded was the perfect example of how wallpaper can turn an ordinary room into a story.
Part 1: Samples, Mood Boards, and the Spark of an Idea
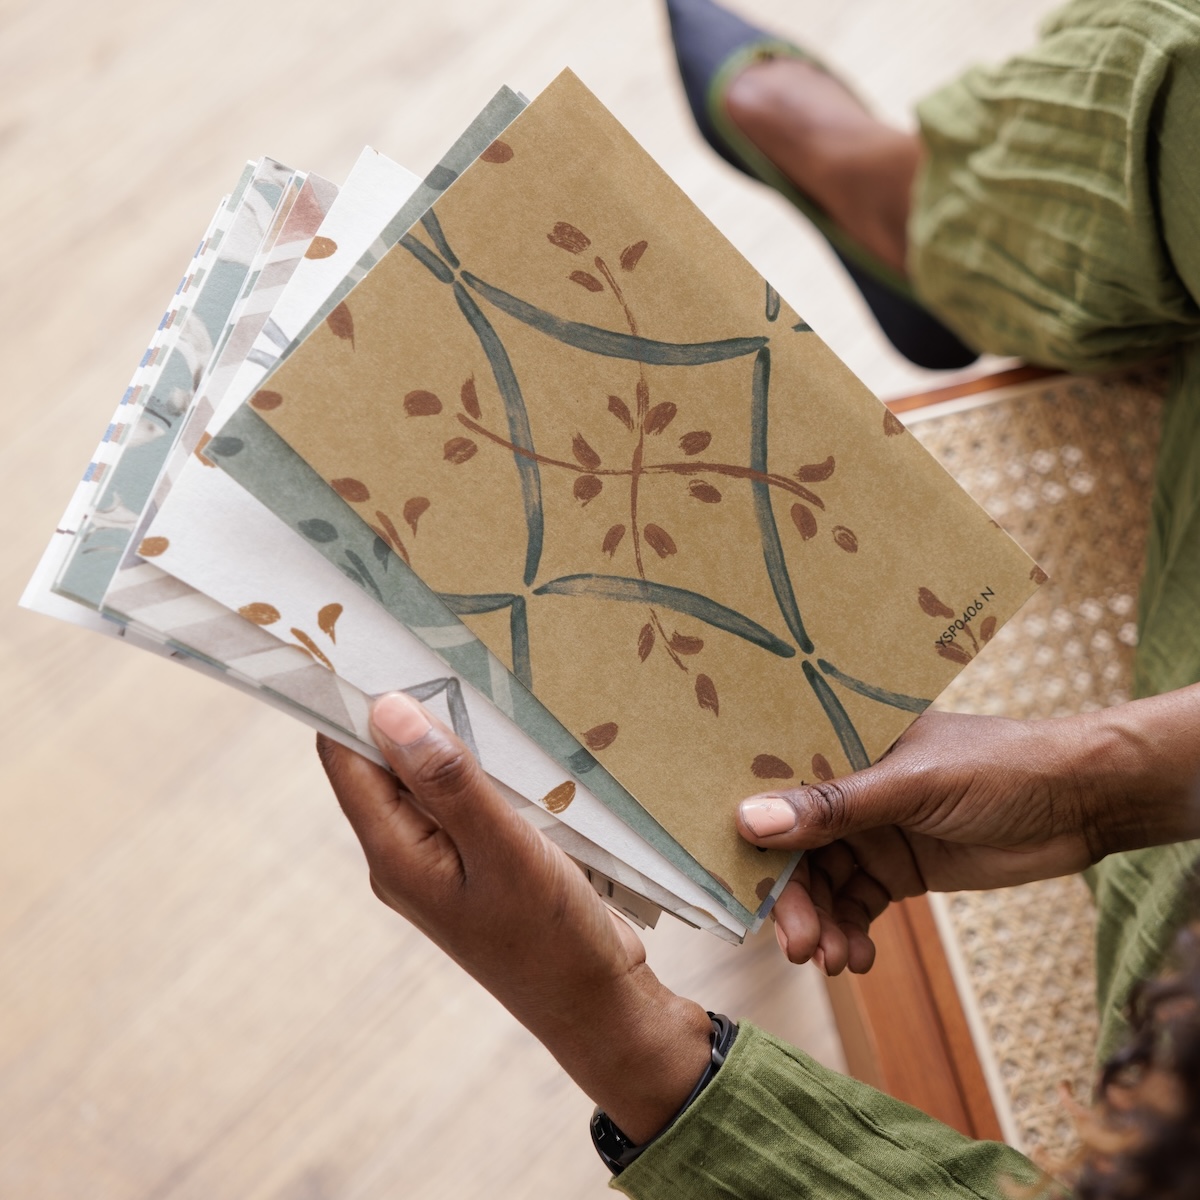
Every wallpaper project starts with exploration.
I hopped onto Otto Studio’s website, scrolling through their playful, artistic, and unmistakably expressive patterns. Their designs feel fresh because they’re created in collaboration with artists — not trend cycles — giving them that signature Otto energy.
I ordered 5 peel-and-stick samples to put the options side by side in the client’s space. Otto’s shipping was fast, and when the samples arrived, I immediately spread them out on the table and taped them to the wall.
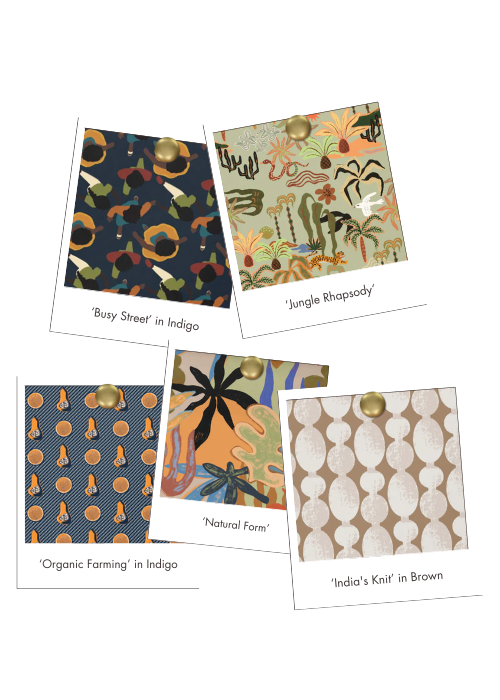
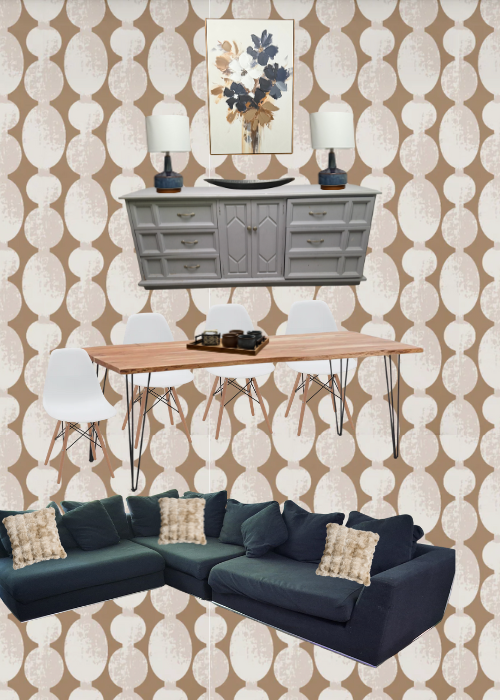
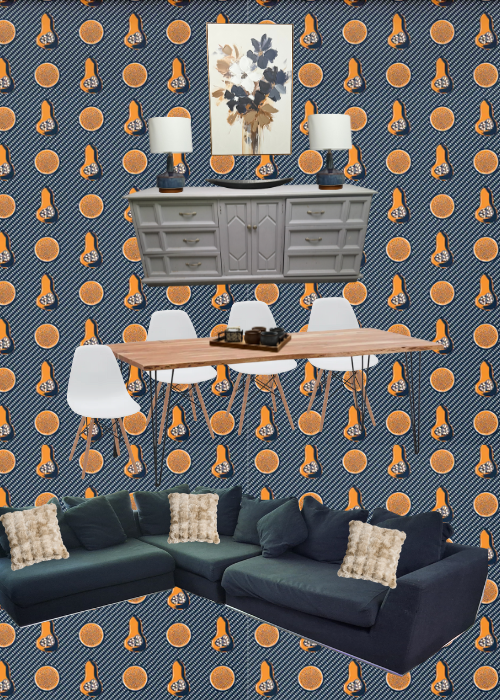
Two clear directions emerged, so I built two mood boards around the same existing furniture — the couch, the wooden table, the buffet — each with its own personality.
We reviewed the options, discussed the vibe she wanted for the space, and ultimately chose the direction that felt the most her.
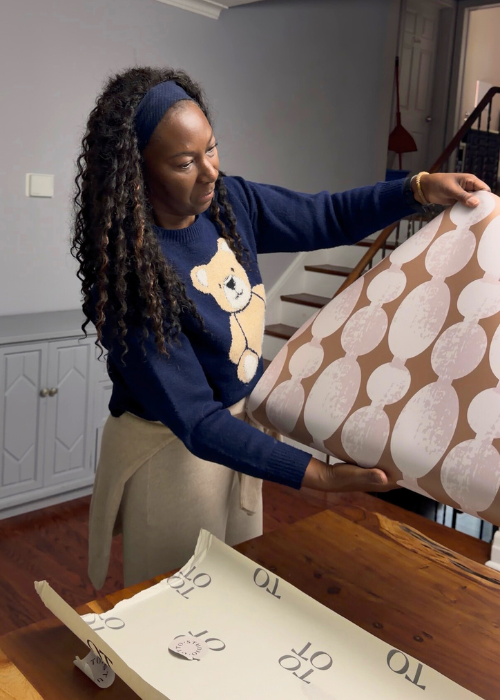
Part 2: Placing the Order & Falling in Love (Again)
Once we decided, I placed the order through Otto Studio’s easy, intuitive checkout.
When the wallpaper arrived, the unboxing moment did not disappoint.
The colours were vibrant, the print quality was stunning, and the material felt durable and soft to the touch.
A huge perk for DIYers?
Otto uses dimensionally stable material, which means it doesn’t stretch, even when repositioned!
You can adjust panels multiple times without worrying about warping the print or compromising the adhesive.
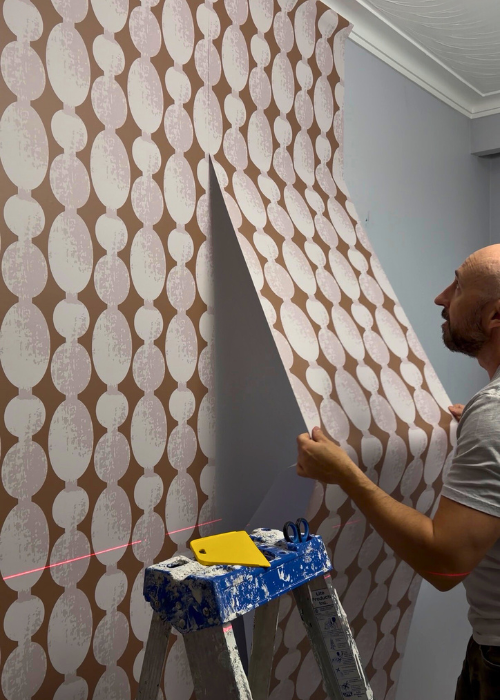
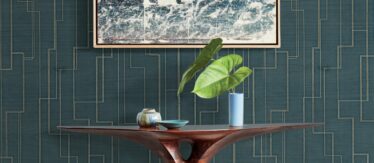
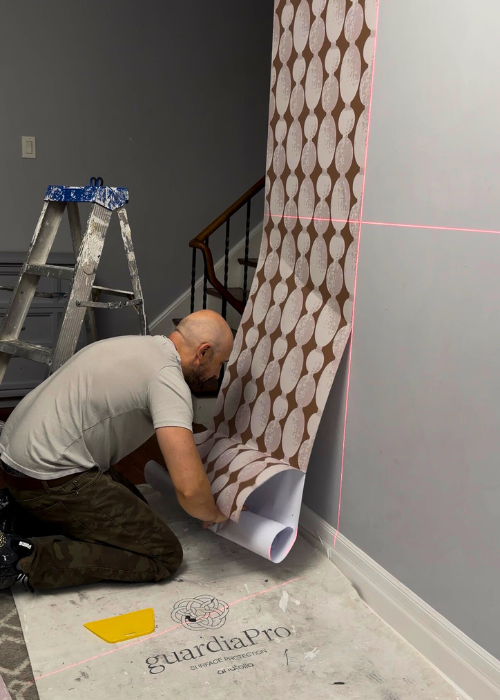
Part 3: Install Day — Where the Magic Happens
The day or installation always brings the momentum.
Before applying any peel-and-stick wallpaper, the wall has to be properly prepped:
- Clean, smooth, fully dry
- Painted in semi-gloss, satin, or eggshell (not matte)
- Paint cured for four weeks
- Surface wiped with 70% isopropyl alcohol
Once the wall was ready, we began the installation from the least noticeable corner — always the smartest strategy for pattern placement.
Peel a little. Stick a little. Smooth a little.
Otto’s low-tack adhesive made it easy to lift and reposition without damaging the wallpaper. With a geometric pattern, that flexibility is a lifesaver.
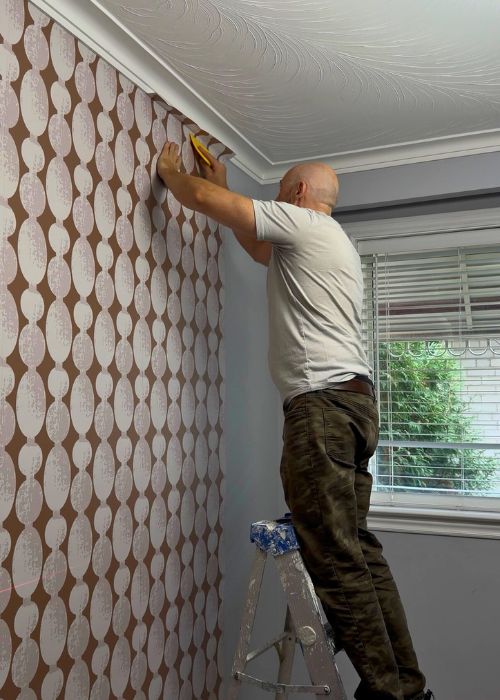
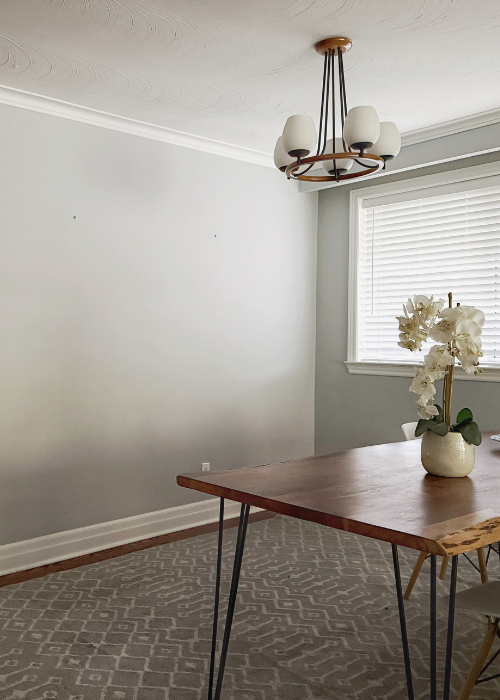
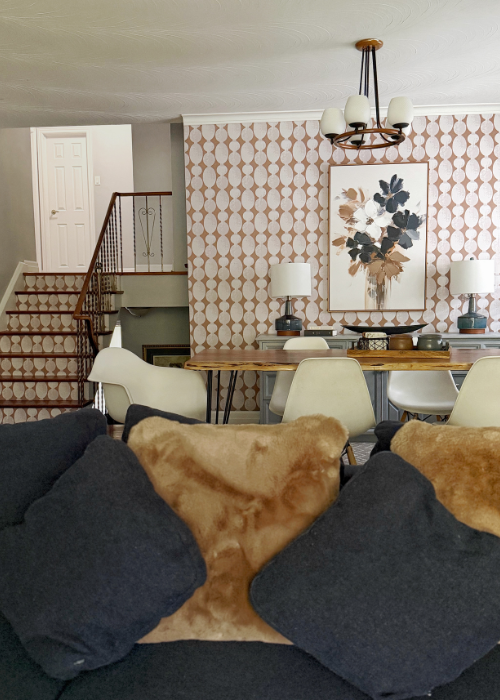
The Before & After Transformation (Before Styling)
When we stepped back to admire the finished wall, the difference was immediate.
The room suddenly felt alive — intentional, expressive, and full of personality.
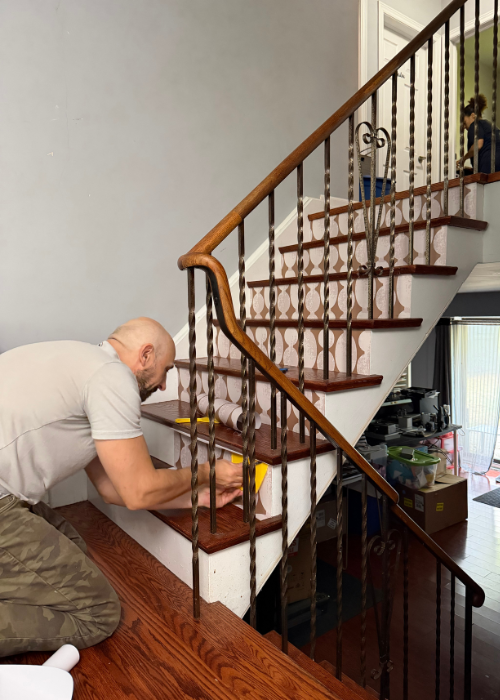
Bonus Tip: Don’t Waste Your Leftovers
We had some extra wallpaper after completing the feature wall — and instead of letting it sit in a drawer, we put it to creative use.
Peel-and-stick offcuts are perfect for small accent moments, so we applied the leftover strips to the stair risers.
It added a subtle but joyful design detail, carried the pattern into another area of the home, and cost absolutely nothing extra. A small transformation with a big impact.
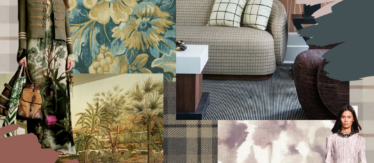
Part 4: Styling the Space — Letting the Wallpaper Lead
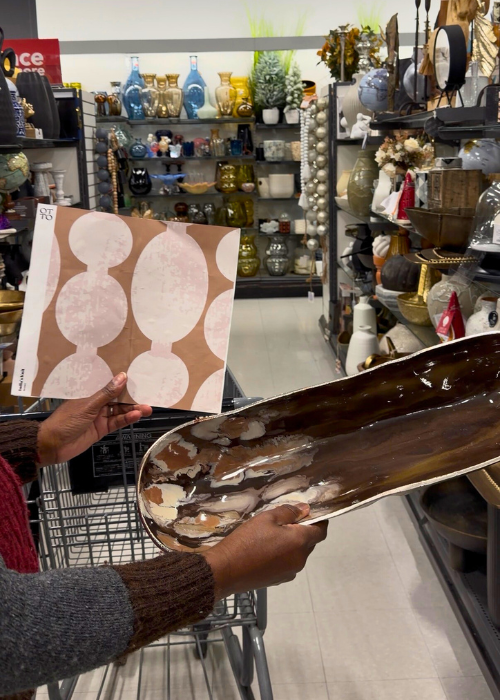
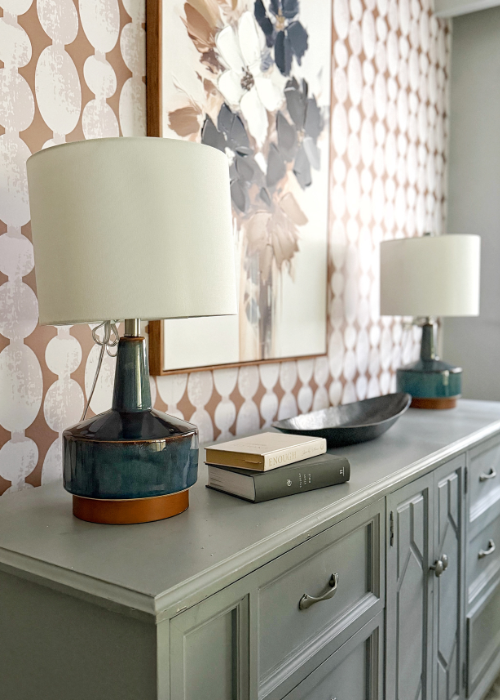
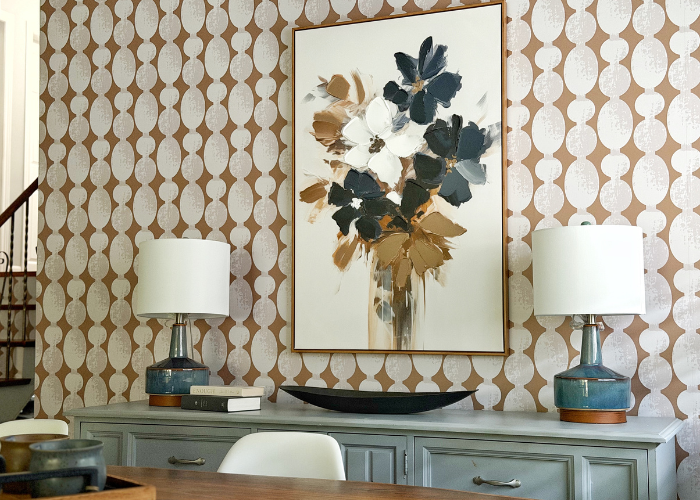
After the installation was complete, next came my favourite part: styling.
I headed to HomeSense with a sample of the wallpaper in hand — my go-to strategy to keep the design cohesive.
Holding the sample next to pillows, ceramics, lamps, and art pieces makes sure every choice supports the story the wallpaper is telling.
Back at The Clients Home…
After our trip to HomeSense to source the finishing touches, we layered in:
- Soft textiles
- Warm wood accents
- A little shine through metals
- Art that played beautifully with the wallpaper’s geometry

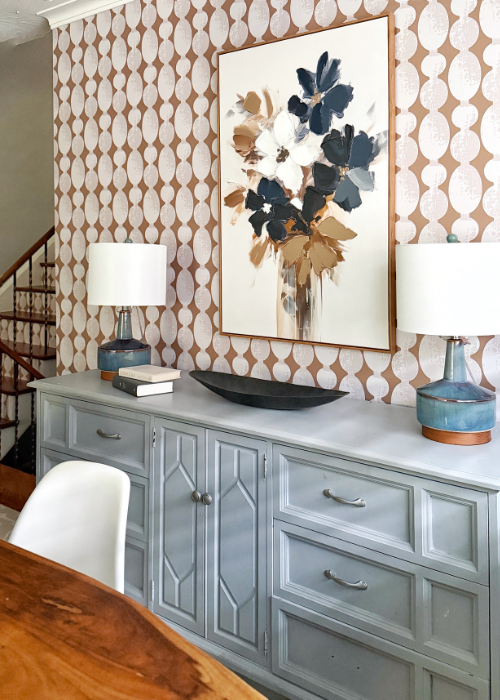
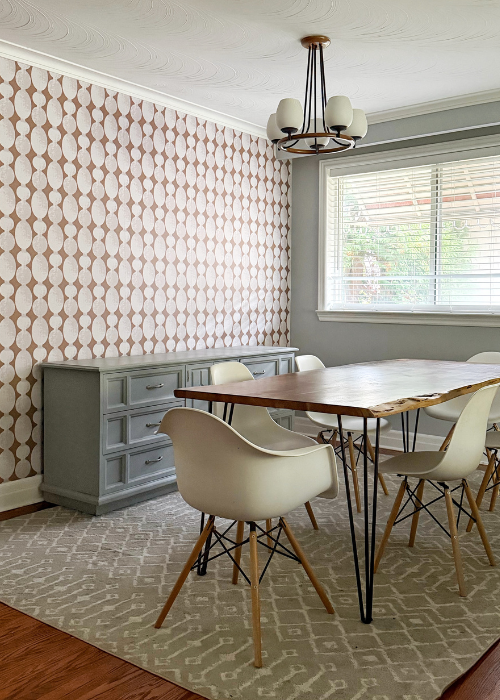
The Before, After & Final Styled Space! (Insane Transformation)
When everything came together, the room felt complete.
Warm. Lively. Intentional.
A perfect reflection of the client.

Behind the Design: A Q&A with Jen Cook, Co-Founder of Otto Studio
To give you a deeper look into the materials, innovation, and philosophy behind Otto Studio’s peel-and-stick wallpapers, I sat down with Jen Cook, Co-Founder of Otto Studio, for a quick Q&A.
Q: For DIYers, how forgiving is the material during installation? Can the wallpaper be repositioned multiple times?
A: (Jen Cook)
“Our wallpapers are designed with renters in mind! Both our Original Luxe and Feather Light materials are dimensionally stable, meaning they don’t stretch in any direction — so if a panel needs to be pulled off during the process, you don’t risk the wallpaper stretching out and warping. Both also use low-tack adhesives as well, making them easy to reposition as you work through your project.”
Q: Otto Studio designs have such a recognizable look. What inspires your aesthetic and keeps your collections fresh as we head into 2026?
A: (Jen Cook)
“It’s incredibly important for people to feel like their spaces reflect who they are. We’ve always been inspired by the unique perspectives of the artists we work with, and are so proud to bring what they create into the home decor space. While understanding where trends are headed can be important, we remain committed to bringing something artful and unique to the wallpaper space — something that’s for everyone, but not just anyone.”
Q: How does the print surface hold up to wear, sunlight, and cleaning in residential or light commercial spaces?
A: (Jen Cook)
“Our wallpapers are easy to clean — we recommend using warm water and a non-abrasive cloth for dust or light marks. Avoid harsh chemicals, which could fade the ink. We’ve used our wallpapers in bathrooms, kitchens, hallways, and light commercial spaces — and the durability has held up well!”
Q: Since adhesion is crucial, which wall finishes are or aren’t recommended?
A: (Jen Cook)
“Each wall is unique — and no wall is perfectly smooth or straight! We always recommend prepping walls well before installation: repairing peeling paint, sanding rough spots, and cleaning thoroughly with a gentle cleaner. Then wipe the surface with 70% isopropyl alcohol and let it dry for five minutes.
For best results, wall paint should be semi-gloss, eggshell, or satin (preferably not matte), and should cure for at least four weeks before wallpaper installation.
While our Feather Light material works better on light textures, both materials perform best on smooth surfaces. Heavy textures like knockdown, orange peel, and popcorn, as well as surfaces like concrete, brick, or plywood, aren’t suitable.”
Q: What innovations can we expect from Otto Studio in the next 3–5 years?
A: (Jen Cook)
“We’re always looking ahead to what our customers want — and we’ve got some great new designs coming for 2026! As more people rent instead of own, we’ll continue developing renter-friendly solutions (that also work beautifully for homeowners).”
Final Thoughts: Wallpaper as Storytelling
This project reminded me why I do what I do.
Wallpaper isn’t just decoration — it’s storytelling. It’s emotion. It’s mood.
It transforms a blank space into a reflection of the person living in it.
If you’re curious about peel-and-stick wallpaper — or ready to transform a room with confidence — I’d love to help guide you.
And if you want to explore Otto Studio’s bold, artful patterns, trust me… once you see the samples in person, you’ll be inspired.
All you need is wallpaper.
And the right consultant by your side.
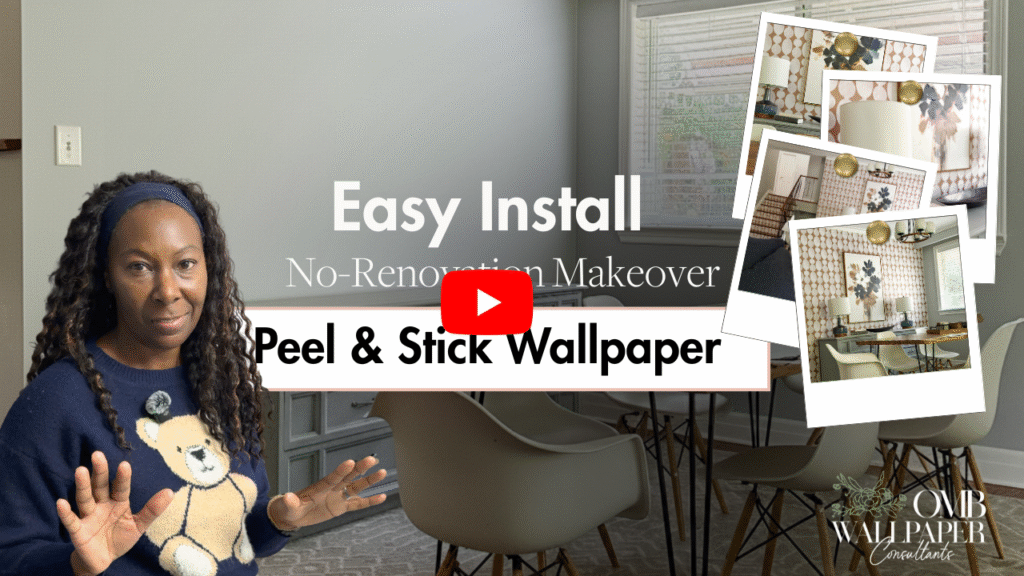
Watch The Complete Transformation on Youtube!
Contact us today and let us guide you through the journey of selecting the perfect wallpaper for your home.