- March 3, 2026
- Yolanda Brooks
Wallpaper installation is about more than choosing a beautiful pattern. It’s about what happens before the first strip ever touches the wall.
I’ve walked into countless rooms where everything looked right on paper. The wallpaper was high-end. The furniture was thoughtful. The lighting was beautiful. And yet—something felt off the moment you stepped inside.
More often than not, the issue wasn’t the wallpaper. It was the preparation.
Crooked ceiling lines that were ignored. Patterns centered mathematically instead of visually. Wallpaper forced to wrap around doors or corners without a clear stopping point. These are the details that quietly undermine a space, even when the materials themselves are beautiful.
Professional wallpaper installation starts long before installation day. It begins with understanding the room, identifying where the eye naturally goes, deciding where wallpaper should end, and choosing where it should begin. When those decisions are made with intention, wallpaper stops feeling decorative—and starts feeling architectural.
Step 1: Analyze the Room Before Installing Wallpaper
At first glance, most rooms seem straightforward. Four walls. A ceiling. Maybe a few windows or doors. But once you slow down and really look, the room starts to reveal its quirks.
Ceilings often slope just enough to throw off a straight pattern. Corners that appear square lean slightly once you put a level on them. Walls can drift or bow without announcing themselves—until wallpaper makes those imperfections impossible to ignore.
This is why analyzing the room is the first and most important step.
Pay close attention to:
- Ceiling lines and crown molding that aren’t perfectly level
- Corners that aren’t plumb from floor to ceiling
- Subtle wall drift or uneven transitions
- How natural and artificial light moves through the space
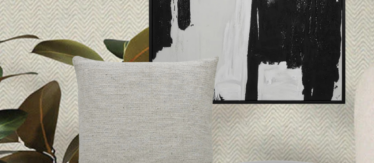
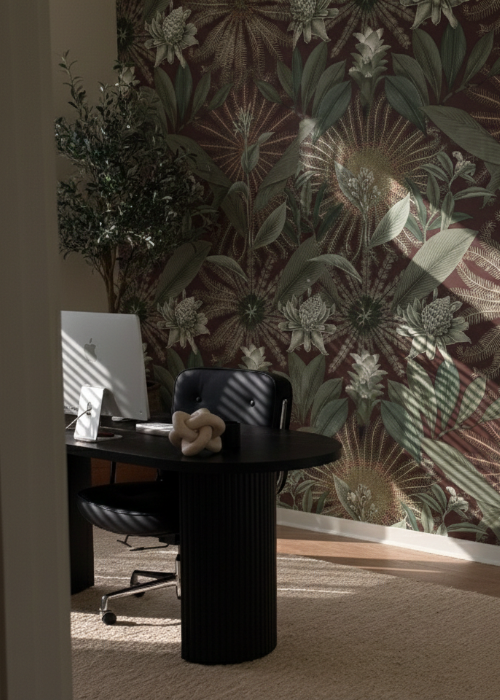
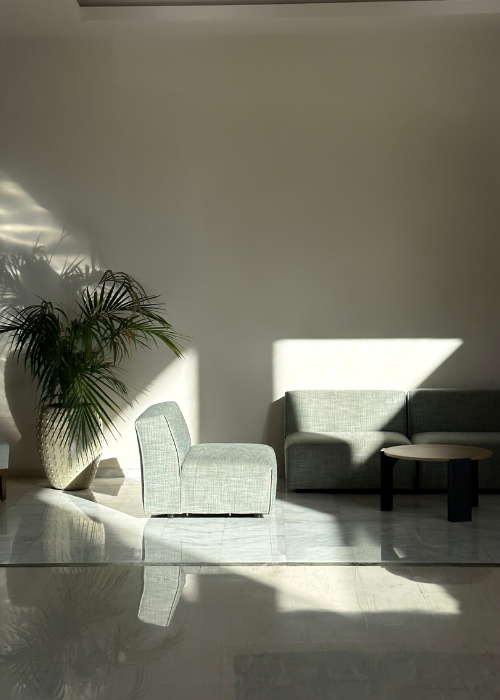
Lighting, in particular, plays a major role in how wallpaper is experienced. A pattern that feels soft and calm in morning light can feel dramatically different in the evening. This is why samples should always be viewed in the actual room, at different times of day, before committing.
The function of the room matters too. Bedrooms often benefit from quieter, grounding patterns, while living spaces and offices can support more movement and energy. Wallpaper should work with the room—not fight it.
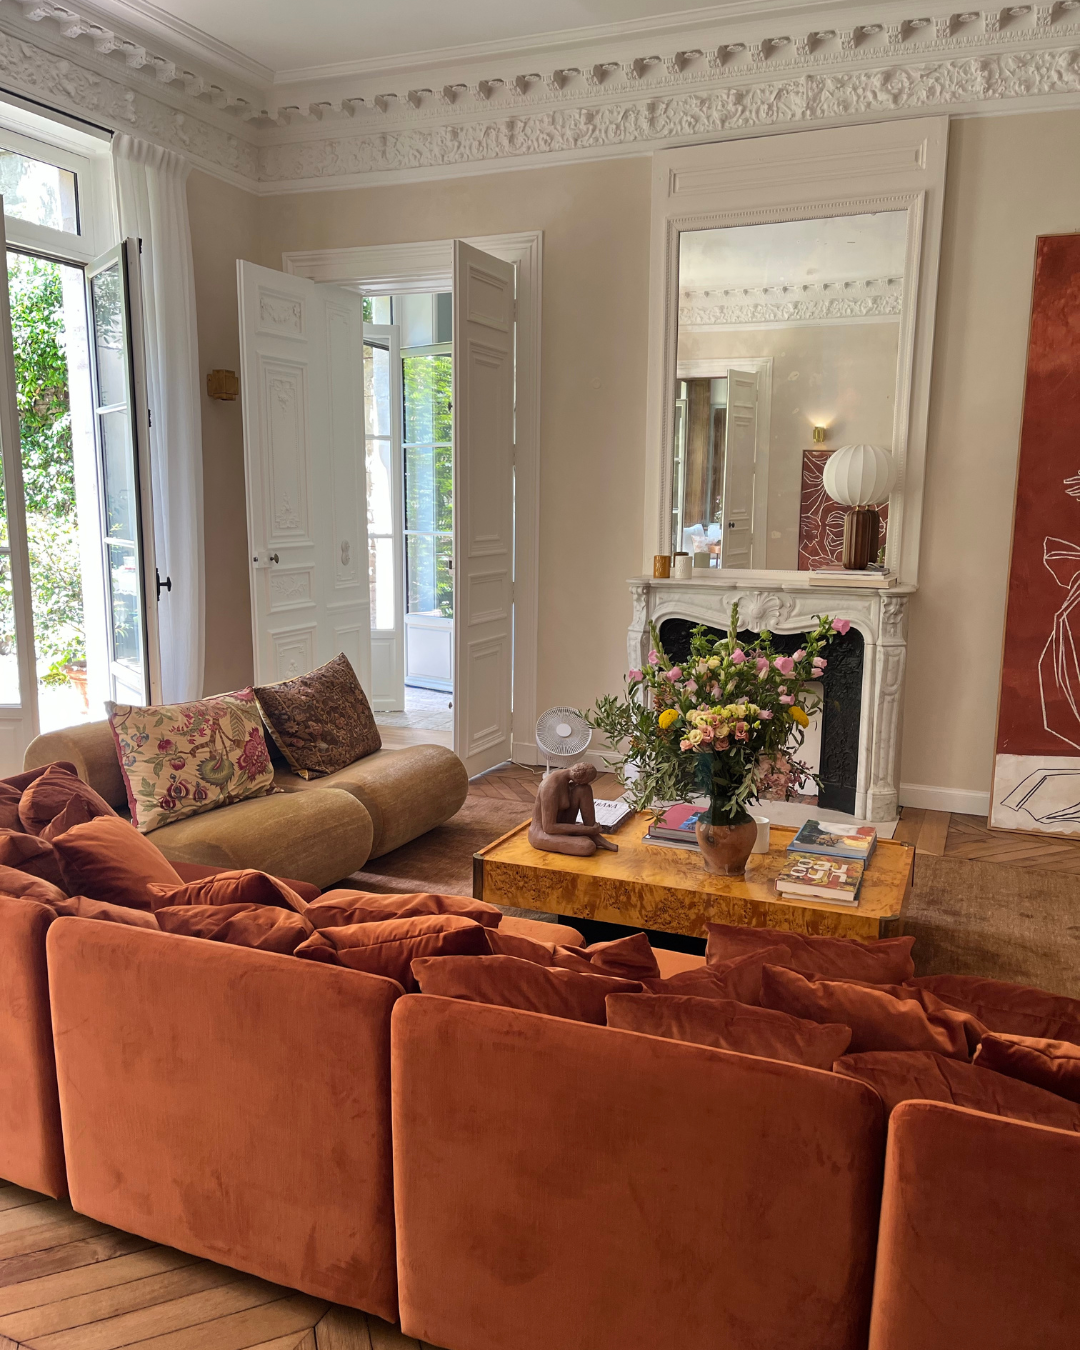
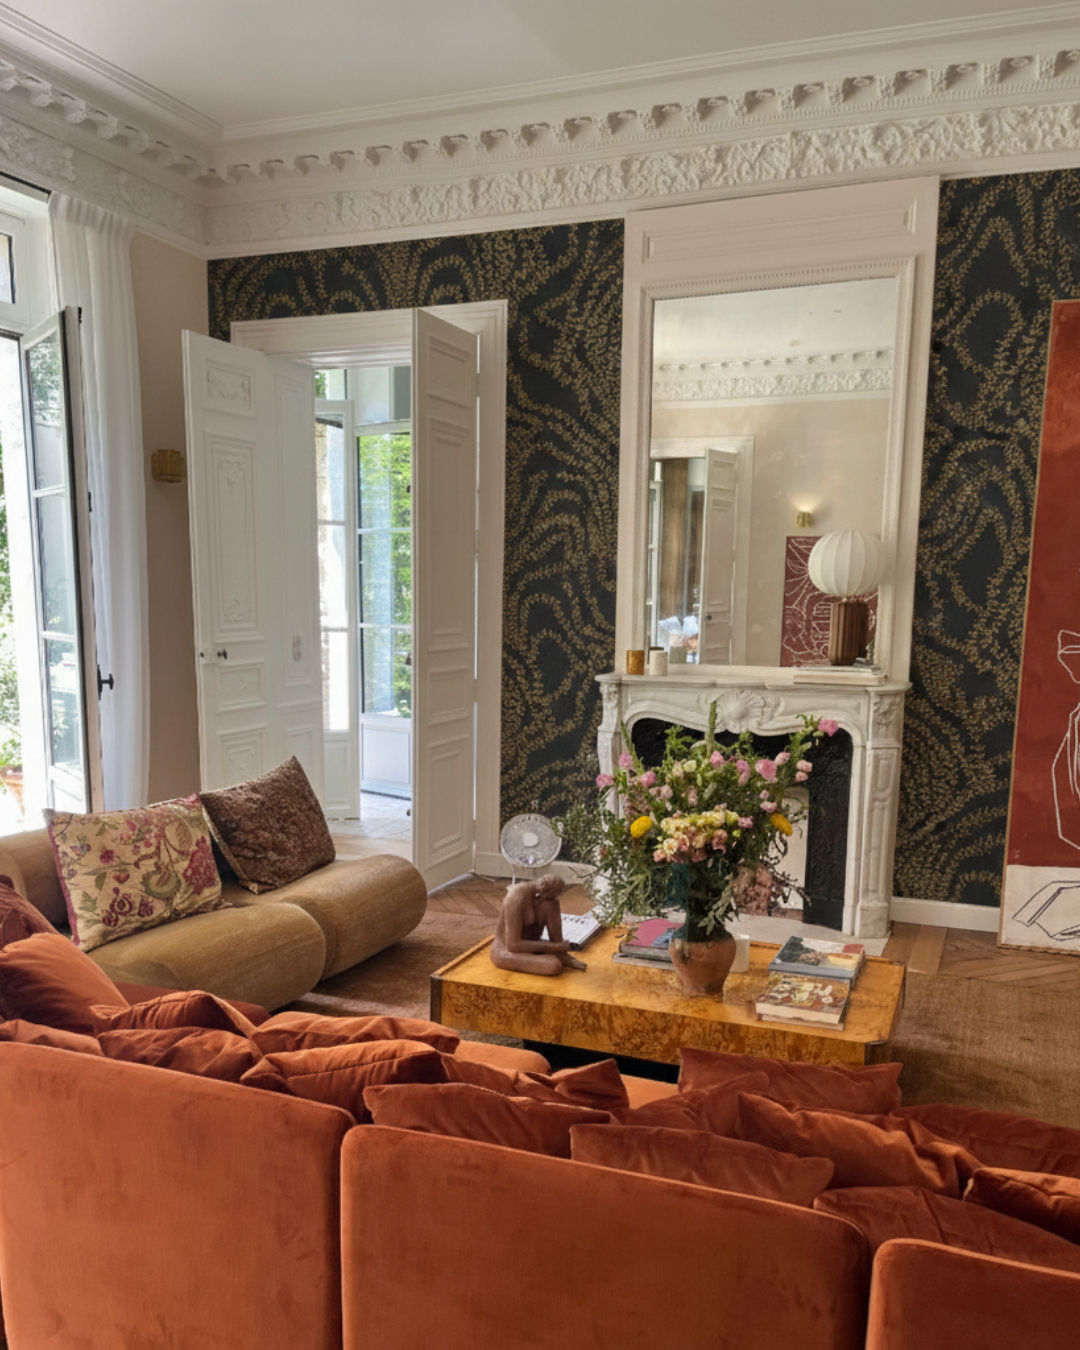
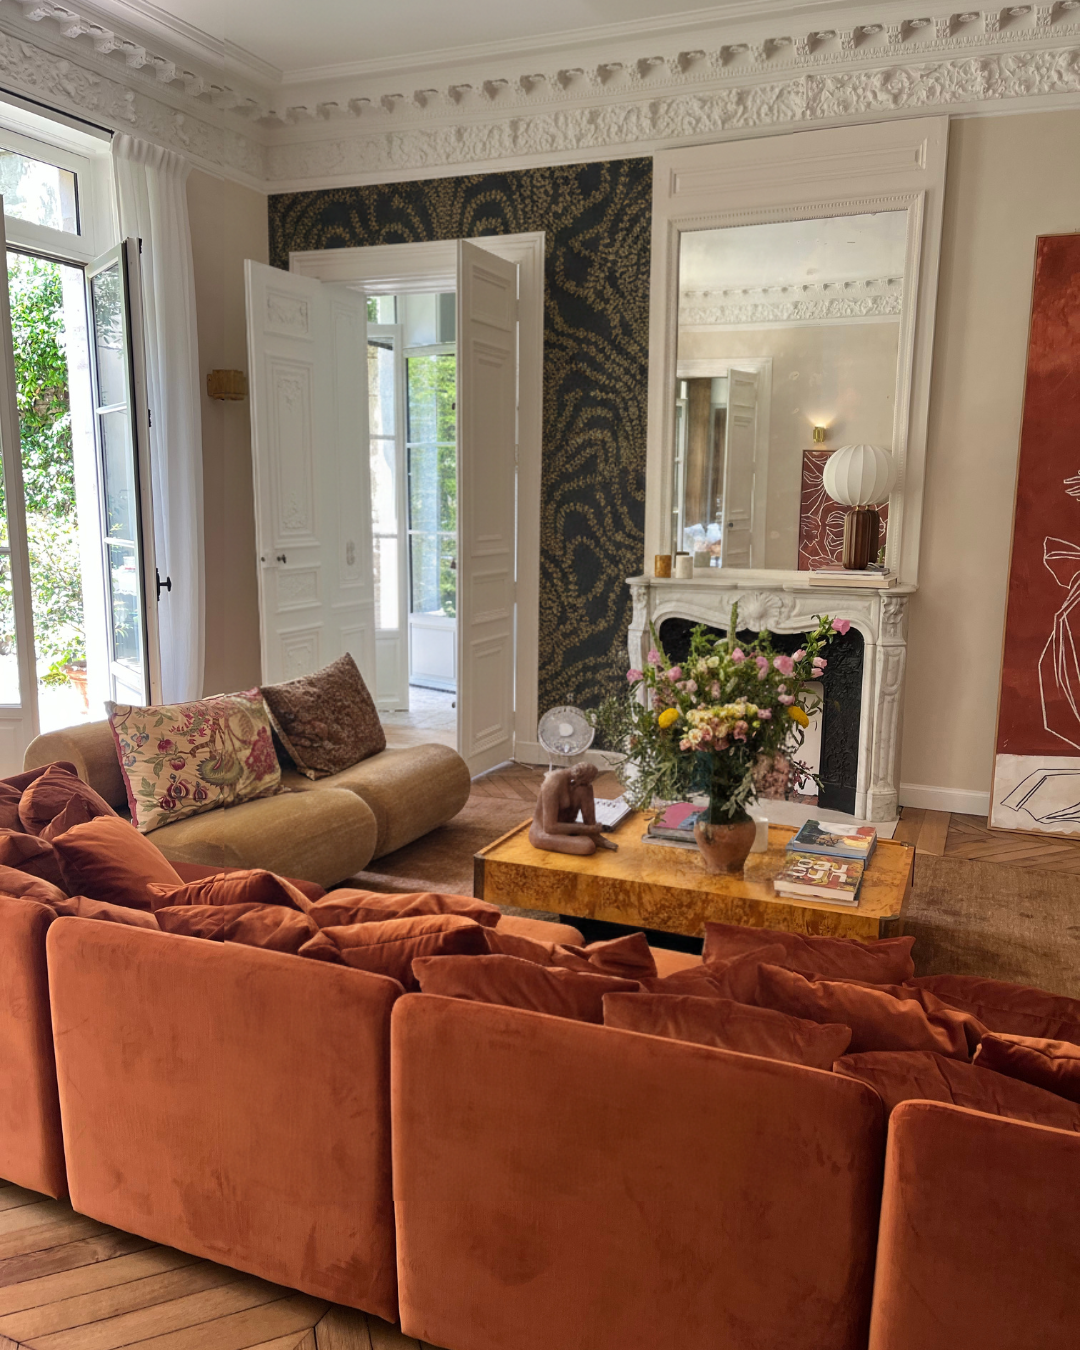
Step 2: Choosing the Right Focal Wall for Wallpaper
One of the most common wallpaper mistakes I see is choosing a wall simply because it’s empty.
An empty wall isn’t always the right wall.
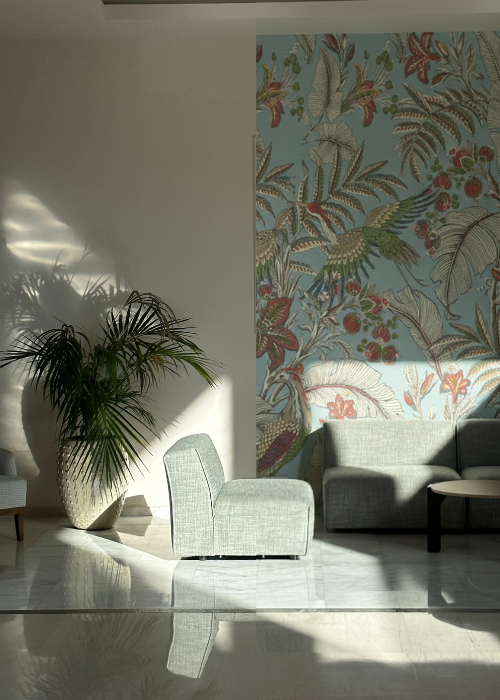
When you walk into a room, your eye naturally goes somewhere first. That moment—your first impression—is what should guide your wallpaper decisions. Fireplaces, headboards, built-ins, and large windows often create natural focal points because they already anchor the space.
Before selecting a focal wall, stand at the entrance and ask yourself:
- Where does my eye land first?
- What architectural feature already holds visual weight?
- Which wall sets the tone for the room?
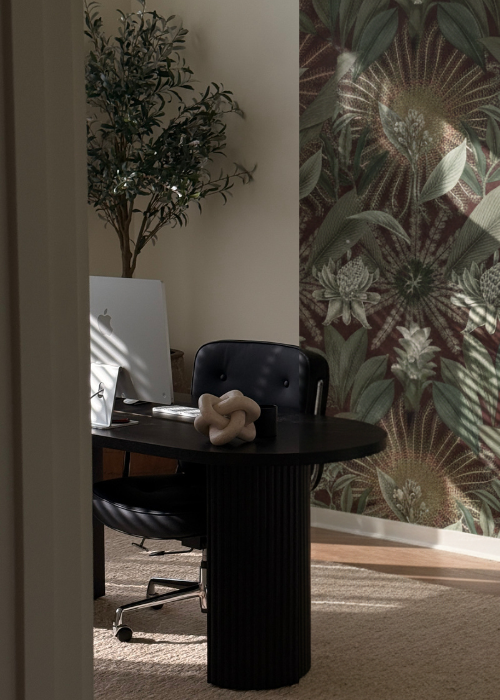
Wallpaper works best when it enhances what’s already important. In rooms with strong natural light, patterns and textures tend to come alive. In darker areas, restraint and balance matter more.
In some spaces, more than one focal wall can work—but only when pattern placement and alignment are planned carefully. Working with your wallpaper consultant or designer (like myself), they can direct you to the best walls to work with.
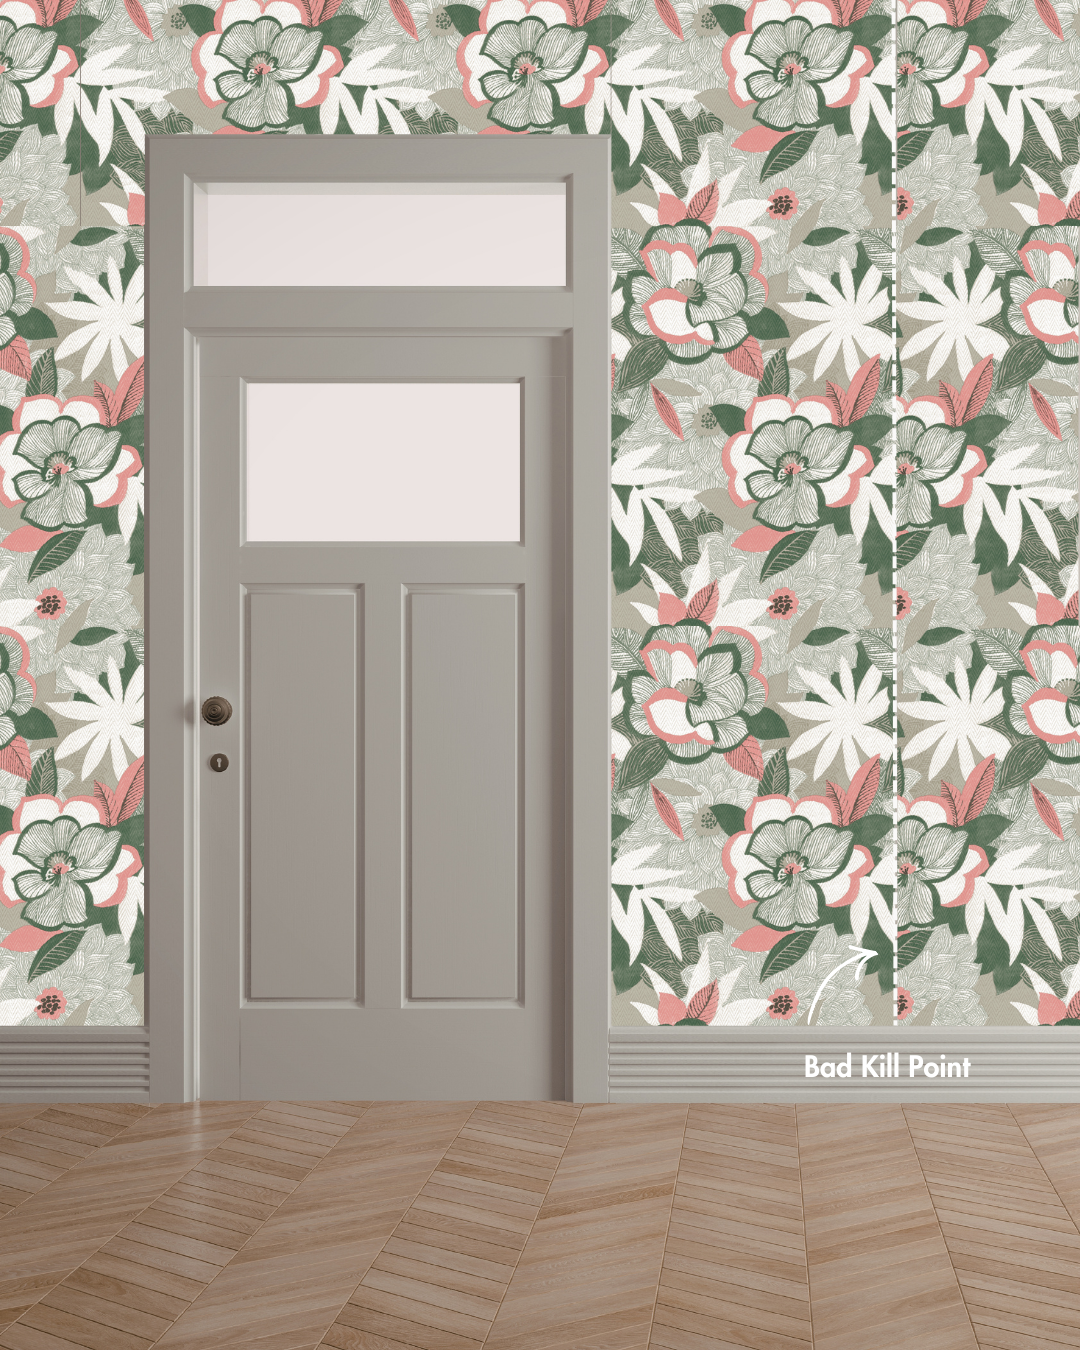
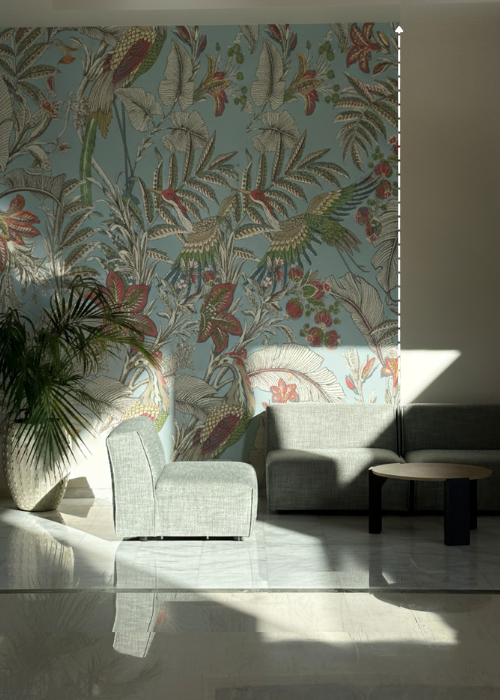
Step 3: Understanding the Wallpaper “Kill Point”
This is where many wallpaper installations quietly fall apart.
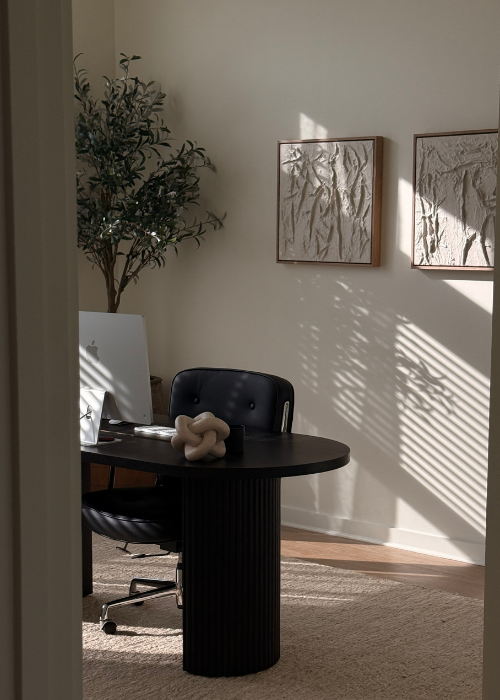
The kill point is where the wallpaper intentionally ends—and it’s one of the most overlooked decisions in the entire process. Without a clear plan, wallpaper gets forced around doors, wrapped into corners, or stopped abruptly in places that feel awkward and unfinished.
A well-chosen kill point follows the architecture of the room. It feels natural, even if you can’t immediately explain why.
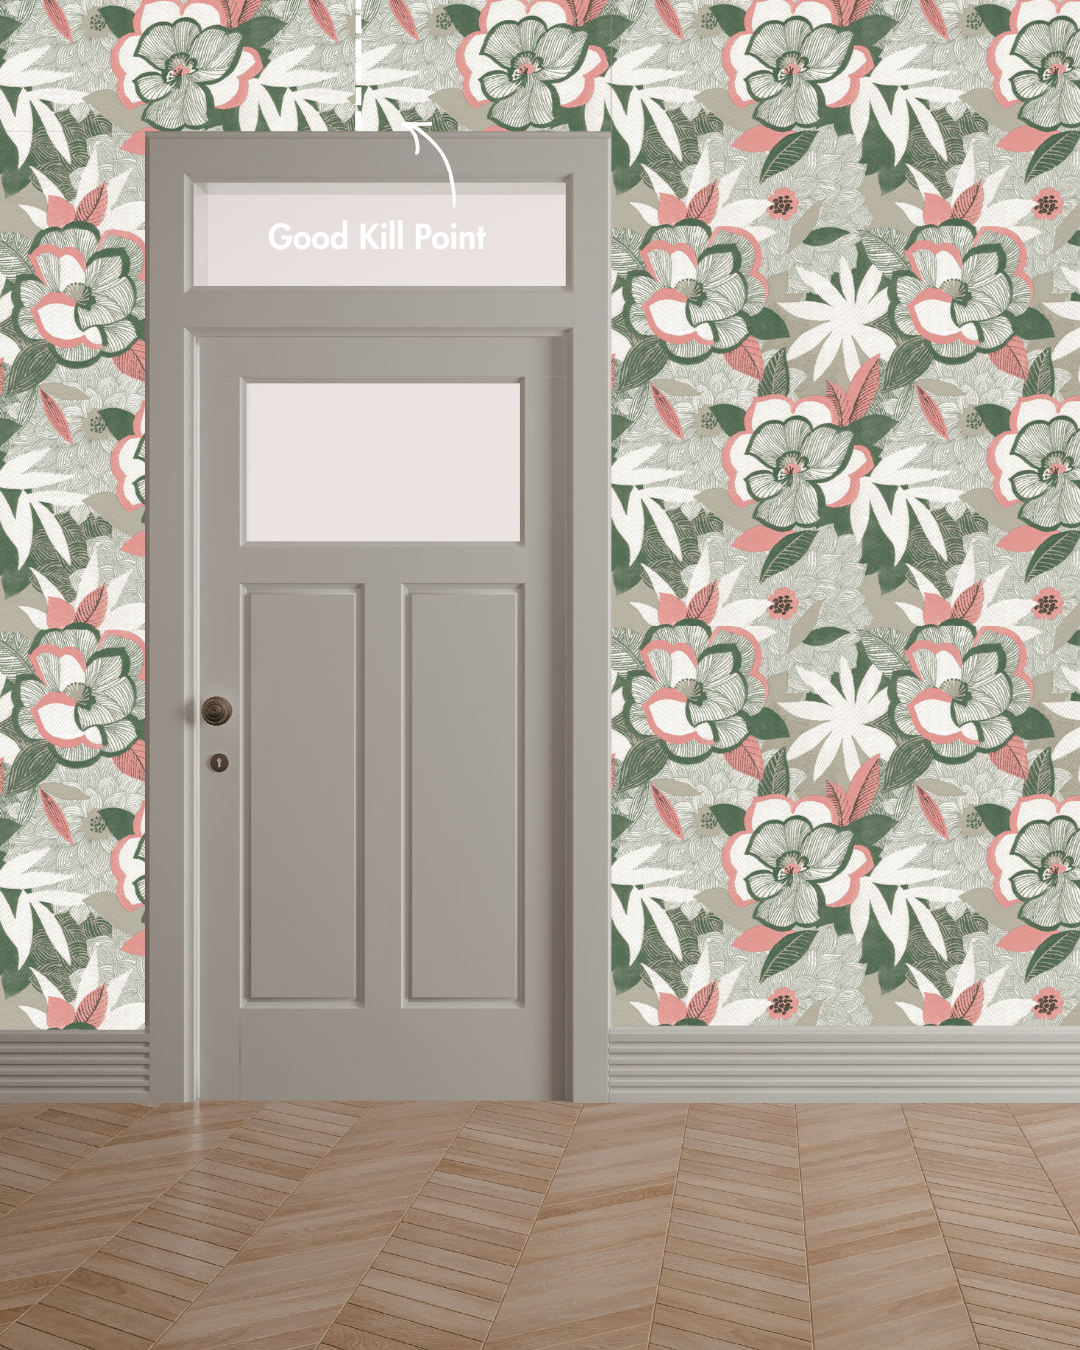
Common kill points:
- Above or below doors and windows
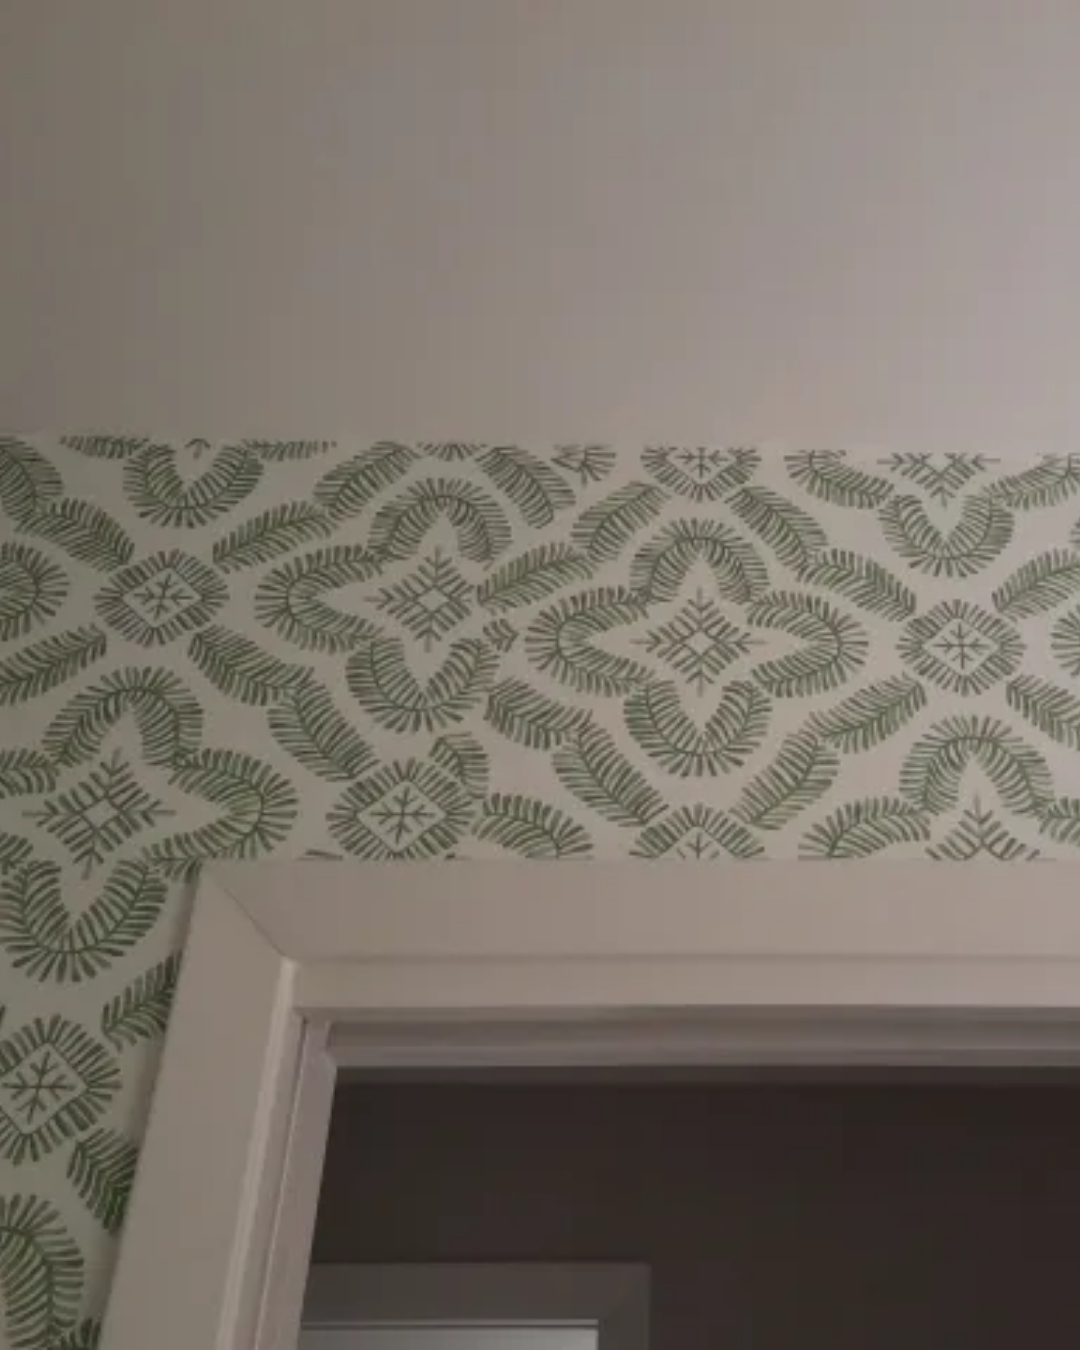
- Along ceiling lines or crown molding
- Inside or outside corners
- At built-ins, shelving, or cabinetry
Corners and architectural features often act as natural stopping points. The key is to let the room guide the decision, not convenience.
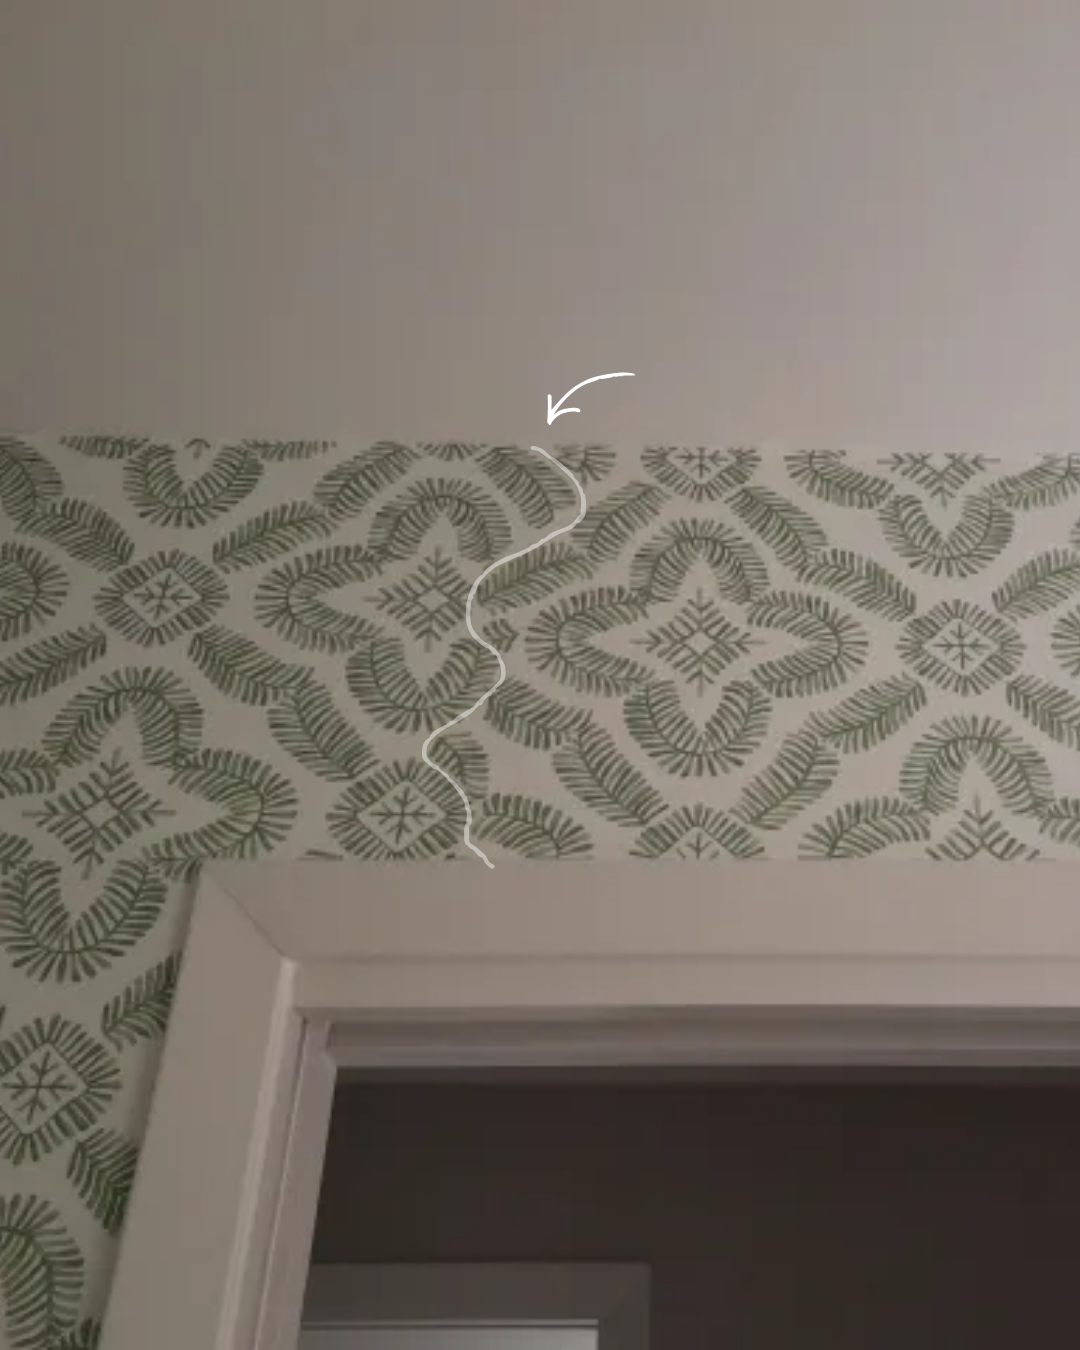
When kill points are planned properly, patterns stay balanced, transitions feel clean, and the wallpaper looks like it belongs exactly where it is.
This seam is inevitable, but a professional installer will hide this seam as best as possible. They will often cut around the pattern in the wallpaper to better blend the pattern.
Step 4: Finding the Visual Center for Wallpaper Installation
The biggest misconception in wallpaper installation is that you should always start at the center of the wall.
In reality, the mathematical center is rarely the best place to begin.
Instead, professionals look for the visual center—the point the eye is drawn to naturally. In a bedroom, this might be the headboard. In a living room, it could be the fireplace. This visual anchor matters far more than exact measurements.
Once the visual center is established:
- The first strip may start slightly left or right of center
- Installation works outward toward the planned kill point
- Balance takes priority over symmetry
Using a level, painter’s tape, and sample panels before installation helps confirm alignment and flow. These small steps prevent large regrets once the wallpaper is up.
When Wallpaper Is Done Right
Wallpaper isn’t just decorative—it’s architectural.
When you take the time to analyze the room, choose the right focal wall, plan intentional kill points, and center the pattern visually rather than mathematically, the result feels calm, balanced, and effortless.
That’s the difference between wallpaper that simply covers a wall and wallpaper that truly transforms a space.
Contact us today and let us guide you through the journey of selecting the perfect wallpaper for your home.